Master Image Scaling
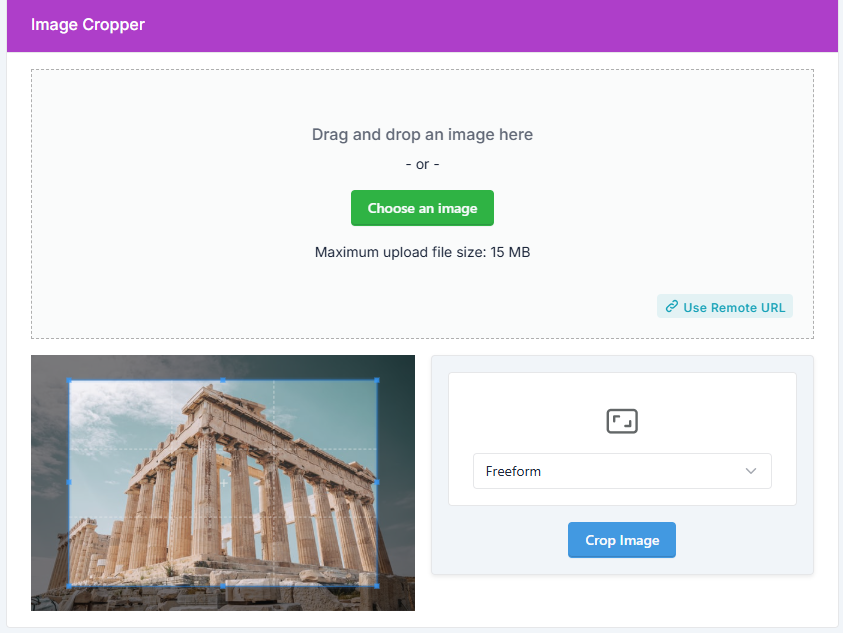
How an Online Image Resizer Works
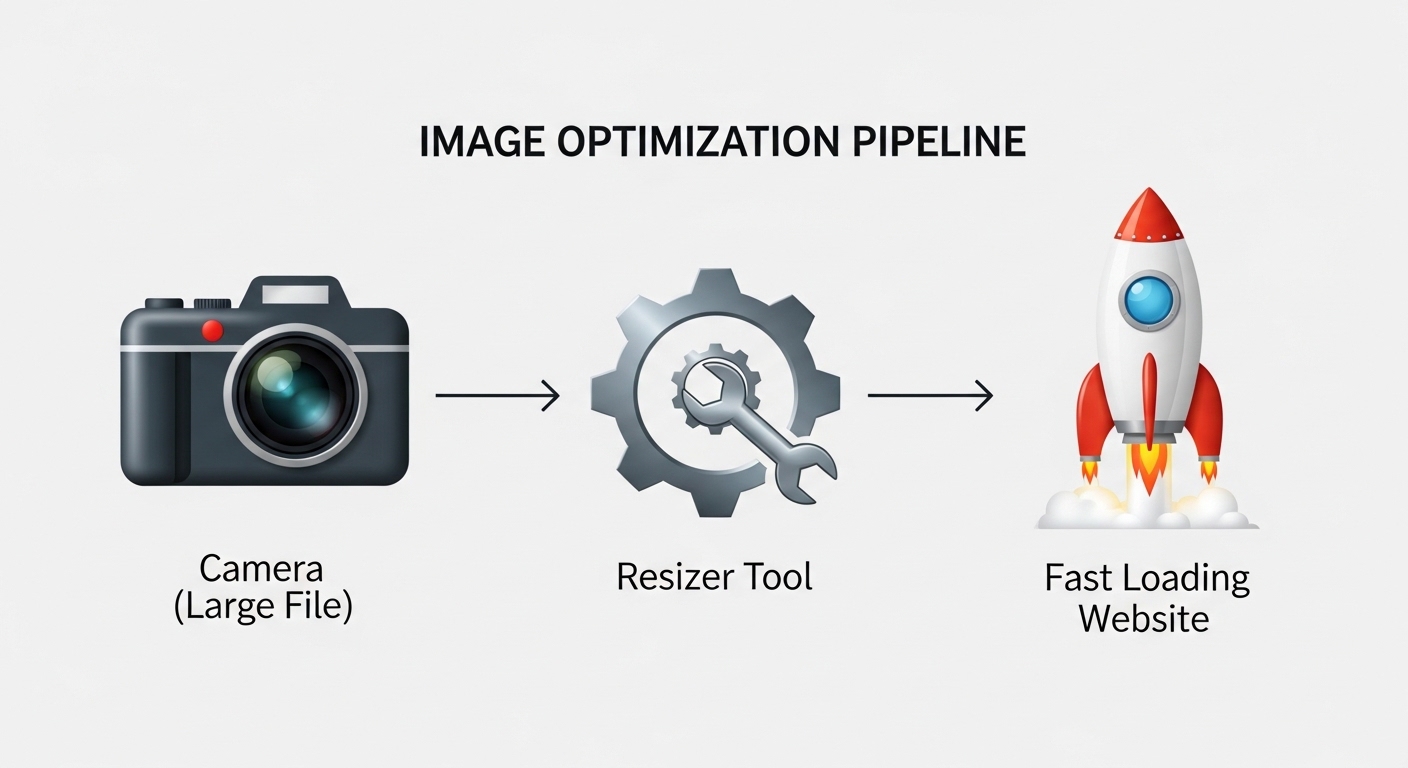
Visuals are everything. Whether you are running an online store, managing a blog, or simply trying to grow your social media presence, the size of your images can make or break your success. However, one of the most common frustrations faced by content creators and web developers is handling image dimensions. You have the perfect photo, but it is either too large for your website, the wrong shape for Instagram, or too heavy to upload quickly.
This is where a reliable online image resizer becomes your best friend. Instead of struggling with complex software like Photoshop or wasting hours trying to crop images manually, a dedicated resizing tool offers instant solutions. In this comprehensive guide, we will explore how to use an image resizer, why it is vital for SEO, and how tools like the one found on Yono-TV can revolutionize your workflow.
What is an Image Resizer? (And Why Do You Need One?)
Image resizer is a powerful online tool that helps you change the width and height of a digital photo. However, it is much more than just a cropping tool. A high-quality resizer adjusts image dimensions while maintaining visual quality, aspect ratio, and sharpness.
Most of us have tried the "manual" method. Dragging the corners of an image in a word processor or using Paint. The result is usually pixelated, distorted, or squashed. Professional image resizers use algorithms to ensure that when you shrink or enlarge a photo, the pixels blend smoothly, keeping the image clear.
Why do you need one? Because page speed is a ranking factor for Google. If you upload a 5MB image directly from your camera to your website, it will take several seconds to load. Most mobile users will abandon a site if it takes longer than three seconds to load. By using an image resizer to compress and resize images to the exact dimensions needed, you drastically improve user experience and SEO performance.
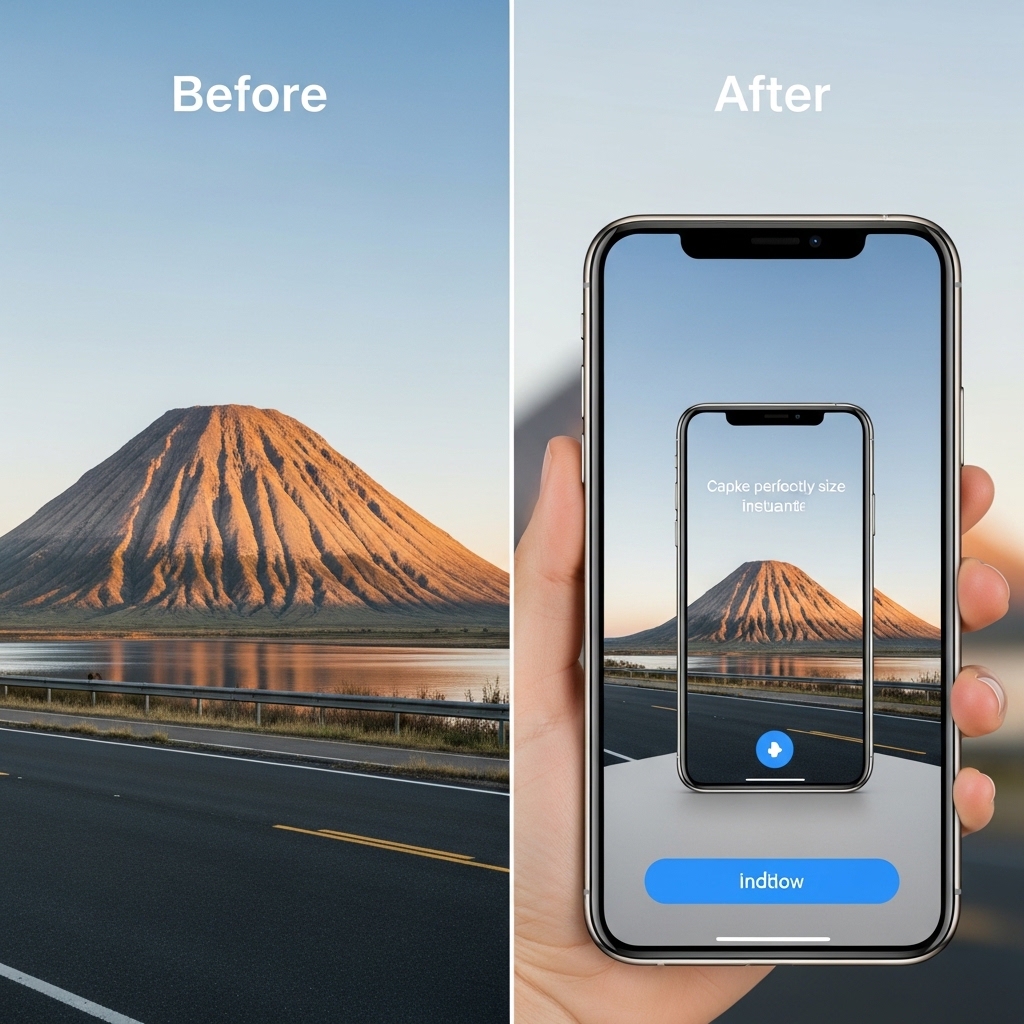
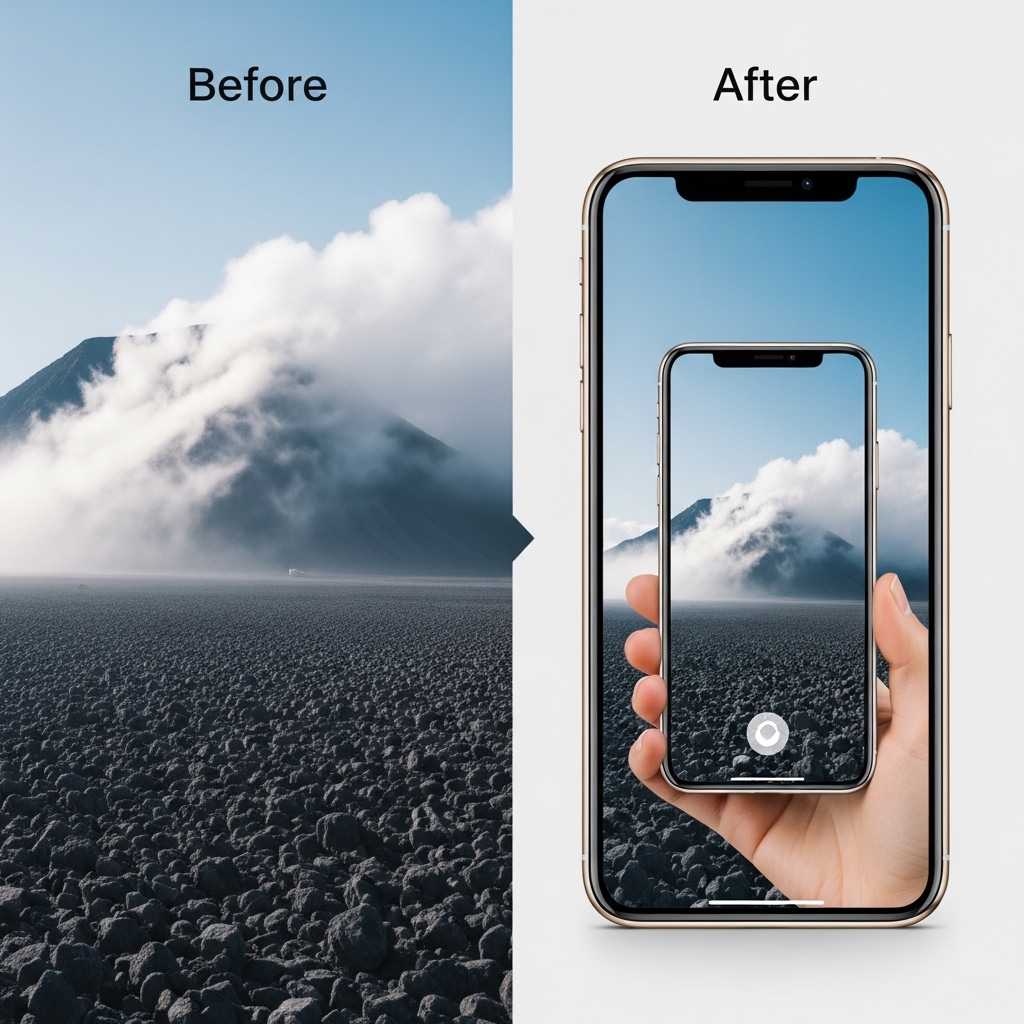
How an Online Image Resizer Works (3 Simple Steps)
You might think resizing an image requires technical skill, but modern tools have reduced the process to just three clicks. Based on the workflow from Yono-TV’s image resizer, here is how you can resize any image instantly:
Step 1: Upload the Image
You do not need to create an account or log in. Most tools allow you to drag and drop your file directly from your desktop or click a button to browse your folders. This instant access removes barriers to productivity.
Step 2: Set the Size
This is where the magic happens. You have two primary options here. You can enter exact pixel dimensions (for example, setting a width of 1080 and a height of 1350 for Pinterest). Alternatively, you can use a percentage scale (reducing the image to 50% of its original size). The best tools also include a toggle to maintain aspect ratio, which locks the width and height together so your photo doesn't end up looking stretched or squished.
Step 3: Resize and Download
Once you hit the resize button, the tool processes the image locally in your browser or on a secure server. Within milliseconds, you are presented with a download link for your new, perfectly sized image. You can then use this image anywhere without worrying about distortion.
Key Features to Look for in a Free Image Resizer
Not all resizing tools are created equal. While exploring the Yono-TV Image Resizer, several standout features define a quality tool. When choosing a resizer for your workflow, ensure it includes the following:
1. Batch Resizing Capabilities
If you are a web developer launching a new site or a photographer delivering a gallery, resizing images one by one is a nightmare. Batch resizing allows you to upload ten, twenty, or even a hundred images at once, apply the same dimensions to all of them, and download a zip folder. This saves hours of repetitive work.
2. Social Media Presets
Have you ever tried to post a landscape photo to an Instagram Story, only to have it cropped awkwardly? Quality resizers come with pre-loaded presets for platforms. You should be able to select "Instagram Post" (1080x1080), "YouTube Thumbnail" (1280x720), "Facebook Cover," or "LinkedIn Banner" with a single click.
3. Quality Retention
The biggest fear when resizing is losing resolution. A good tool minimizes quality drop. It should use high-grade interpolation to ensure that reducing an image doesn't make it blurry. While you should never try to make a tiny thumbnail into a billboard (upscaling causes quality loss), reducing size should keep the image crisp.
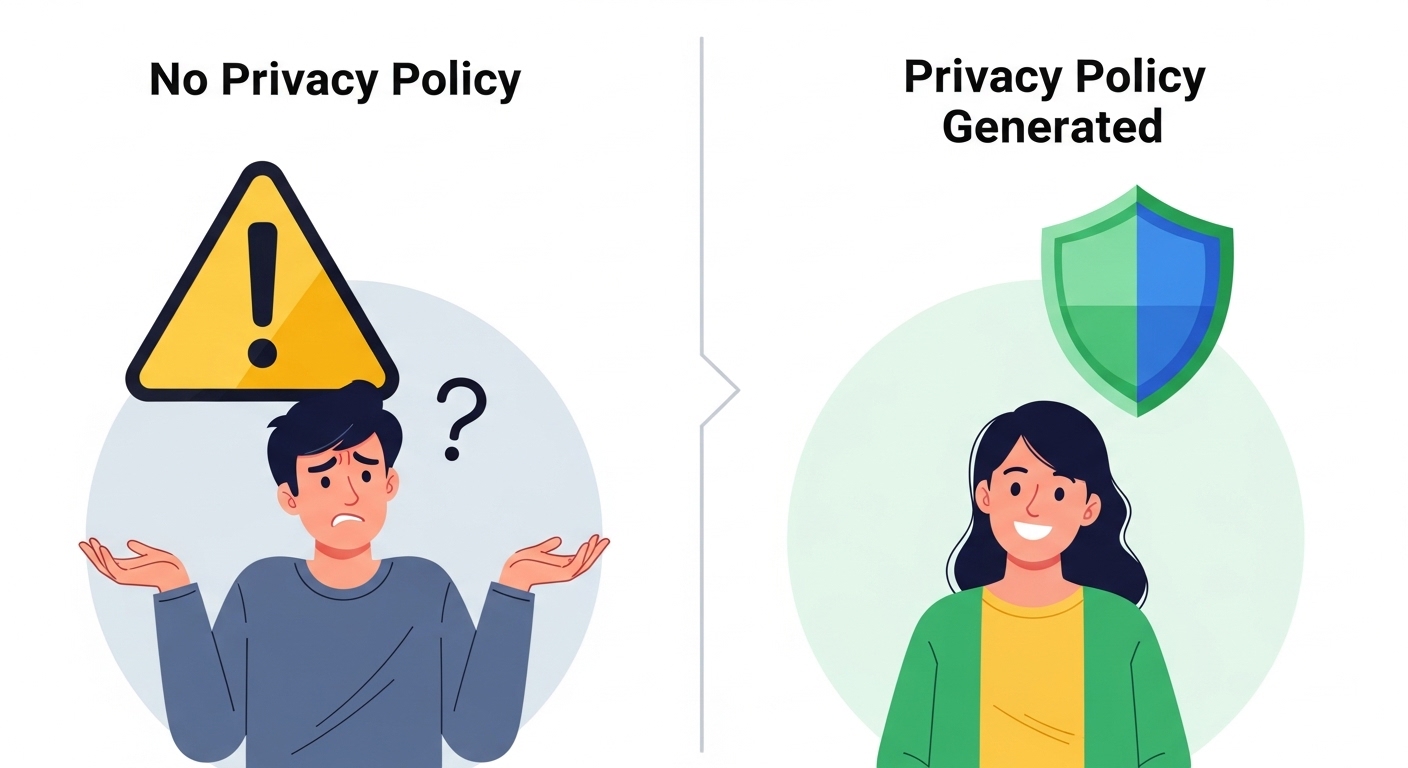
4. Privacy and Safety
You should never have to log in with your Google or Facebook account just to resize a picture. Look for tools that process files instantly and claim not to store your images on their servers. This is crucial if you are handling sensitive business documents or personal family photos.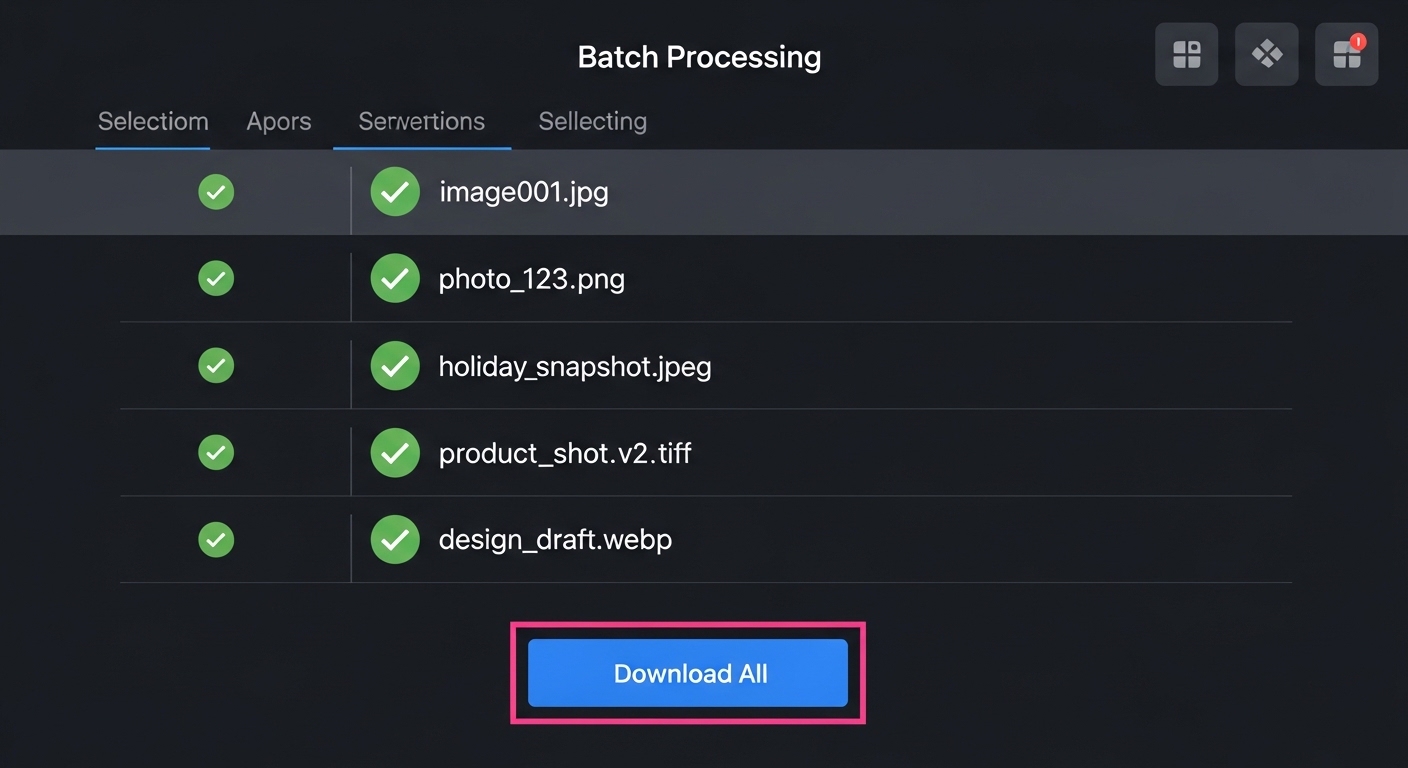
The Ultimate Size Guide for Every Platform
To truly master image resizing, you need to know the destination requirements. Here is a quick-reference size guide based on standard industry practices, similar to the guide provided by Yono-TV.
| Platform / Use Case | Recommended Size (Pixels) | Orientation |
|---|---|---|
| Instagram (Square Post) | 1080 x 1080 | Square |
| Instagram Story | 1080 x 1920 | Portrait |
| YouTube Thumbnail | 1280 x 720 | Landscape (16:9) |
| Facebook Post (Link) | 1200 x 630 | Landscape |
| Pinterest Pin | 1000 x 1500 | Portrait (2:3) |
| Website Hero Banner | 1920 x 1080 | Wide Landscape |
| Etsy/Amazon Product | 2000 x 2000 | Square |
| Profile Picture | 500 x 500 | Square |
Pro Tip: Always check the platform’s guidelines before resizing. If you resize a YouTube thumbnail to 800x600, YouTube will compress it further, making it look blurry next to high-definition videos. Stick to the recommended dimensions exactly.
Who Should Be Using an Image Resizer?
While it seems obvious that designers need this, the utility of an image resizer extends to almost every profession.
-
E-commerce Sellers: Amazon and eBay require specific photo dimensions. If your image is too small, buyers can't zoom in. If it's too large, the listing takes forever to load.
-
Real Estate Agents: Listing photos need to be large enough to show detail but small enough to load quickly on a potential buyer’s phone signal.
-
Students: When inserting images into essays or presentations, you often need to reduce the file size to meet the submission portal’s limits (e.g., 2MB max).
-
Social Media Managers: You need to resize the same graphic into 5 different shapes for LinkedIn, Twitter, Facebook, and Instagram Stories.
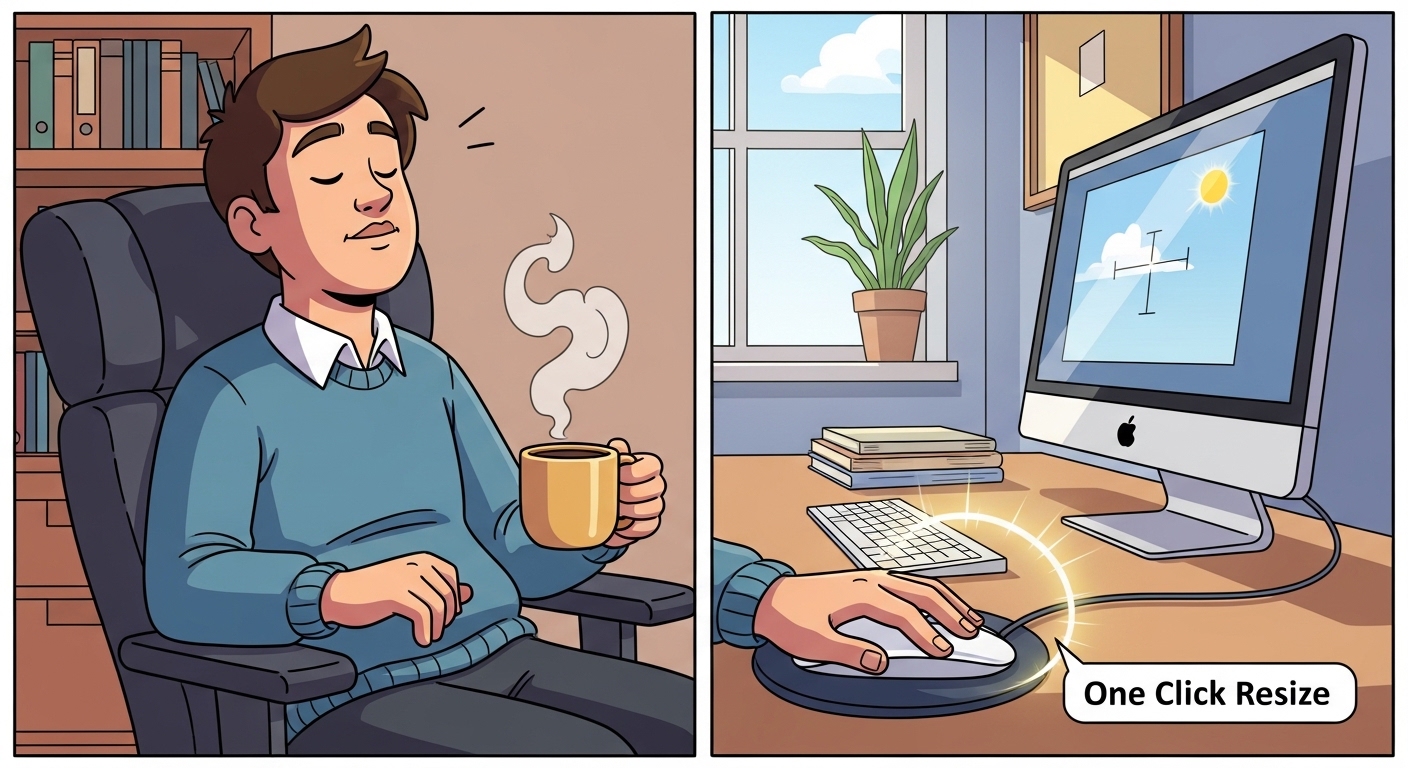
Manual vs. Tool: A Productivity Comparison
You might be tempted to just "do it yourself" using built-in software. Let's compare the manual method against using a dedicated tool like the Yono-TV Image Resizer.
| Factor | Manual (e.g., MS Paint/GIMP) | Dedicated Online Tool |
|---|---|---|
| Time | 5-10 minutes per image (opening software, adjusting canvas, exporting). | 30 seconds per batch. |
| Complexity | High. You must understand DPI, pixel dimensions, and scaling algorithms. | Low. Just type the number or choose a preset. |
| Risk of Error | High. It is easy to forget to lock aspect ratio, resulting in "squashed" faces. | Low. Tools auto-lock ratio by default. |
| Cost | Free (Paint) to Expensive (Photoshop subscription). | 100% Free (usually). |
| Workflow | Requires installing software. | Works in browser; no installation needed. |
The verdict is clear: For 99% of daily tasks, an online tool is faster, safer, and smarter.
Advanced Tips: How to Resize Without Losing Quality
Here are five professional secrets to ensure your resized images look flawless:
-
Never Upscale Raster Images: You cannot create detail where there is none. If you try to turn a 200x200 logo into a 2000x2000 banner, it will look like a blurry mess. Always start with the largest source image possible.
-
Keep Aspect Ratio ON: This is rule number one. Unless you are intentionally creating a "stretched" effect (which you usually aren't), ensure the lock icon is closed.
-
Resize Before Uploading: Do not rely on websites (like WordPress or Shopify) to resize your images for you. Their built-in resizers often prioritize speed over quality. Resize it perfectly on your local machine or tool first, then upload.
-
Choose the Right Format: When resizing, also consider the file type. JPEG is best for photographs (small file size). PNG is best for logos and graphics (transparent background). WebP is the modern standard for web speed.
-
Use "Sharpen" if Available: Some advanced resizers have a "sharpen" filter. When you shrink an image, you sometimes lose a little bit of fine detail. A slight sharpen filter brings the edge contrast back.
Frequently Asked Questions (FAQ)
Q: Is it really free?
A: Yes, tools like the Yono-TV Image Resizer are completely free. You do not need to enter credit card information or sign up for a trial that expires.
Q: Will the quality drop?
A: If you resize properly (making images smaller or standardizing dimensions), the drop is minimal and often invisible to the naked eye. If you upscale a tiny image, the quality will drop significantly.
Q: Can I resize multiple images at once?
A: Yes. Look for the "Batch Resizing" or "Bulk Upload" button. This feature is essential for professionals handling galleries or product photos.
Q: Is it safe to upload private photos?
A: Reputable online tools process your images temporarily and delete them from their servers within minutes (or immediately after your session ends). Always check the privacy policy, but generally, simple resizers are safe.
Q: What happens if I don't lock the aspect ratio?
A: Your image will stretch or squish. A circle will become an oval, and a person will look either too thin or too fat. Always lock the ratio unless you are deliberately changing the shape.
Conclusion: Stop Overcomplicating Your Images
In the race to create great content, don't let technical barriers like image dimensions slow you down. Using a smart online image resizer frees you up to focus on creativity, marketing, and storytelling.
Whether you are optimizing product photos for your Etsy store, creating a uniform look for your blog thumbnails, or just trying to send a family photo that fits in an email, the solution is simple. Find a tool that offers instant processing, batch downloads, and preset dimensions.
Visit the Yono-TV Image Resizer today, upload your first image, and see how easy it is to transform your digital assets. Stop guessing the dimensions and start getting the perfect fit, every single time.
Popular Tools
Recent Posts